
Have you ever wanted to show a friend how to fix a setting on their phone? Or maybe you wanted to save a cool gaming moment to share later? Learning how to Screen Record iPhone devices is a total game-changer. Whether you are using a new device or an older model, the process is simple and built right into your phone. You don’t need to download any sketchy apps to get the job done. Let’s dive into how you can start capturing your screen like a pro today.
Getting Started: The Secret Tool
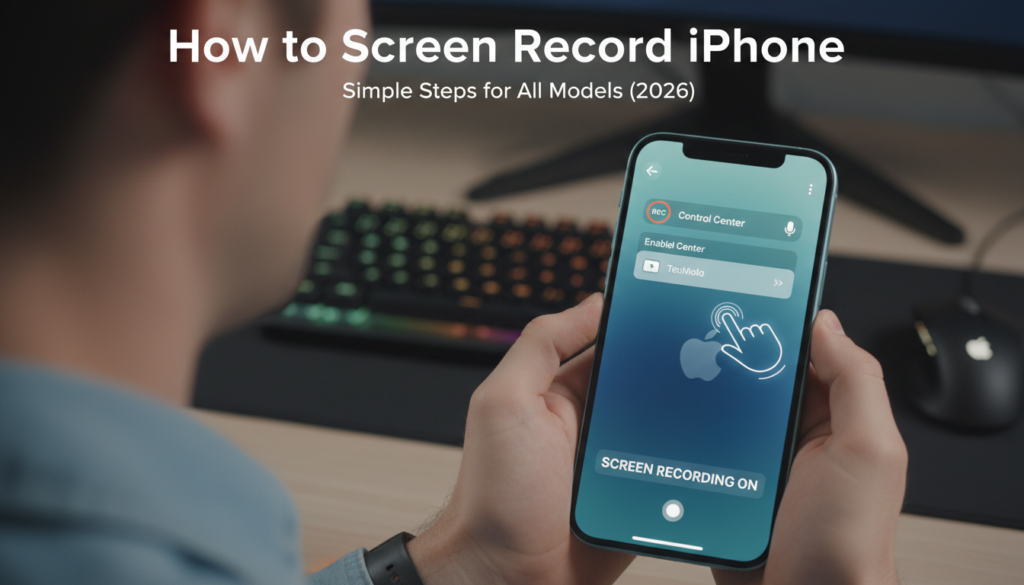
The magic happens in your Control Center. Most people don’t know that this feature is often hidden by default. To turn on screen record iphone functionality, you first need to add the icon to your shortcut menu. Open your Settings, find the Control Center tab, and look for the “Screen Recording” option. Once you tap the green plus button, it moves to your active tools. Now, you are ready to capture anything happening on your display.
How to Screen Record iPhone 13 and Newer
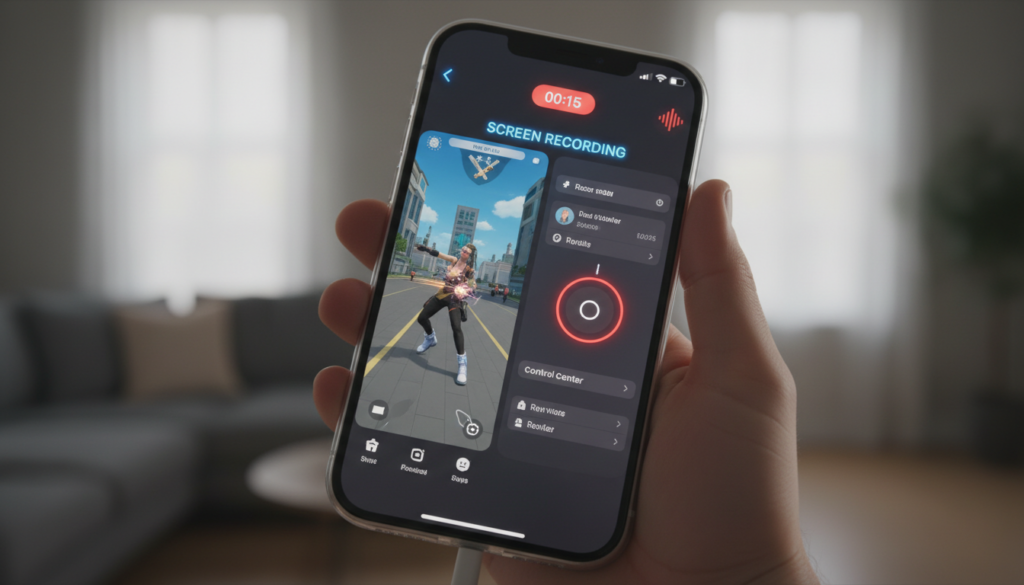
If you are wondering how to screen record iphone 13, 14, 15, or even the latest versions, the steps are identical. Swipe down from the top-right corner to open your Control Center. You will see a button with a solid circle inside a ring. Tap it, and a three-second countdown will begin. This gives you just enough time to get to the app or page you want to capture. When you see the red indicator, your recording is live!
Capture Your Voice: Screen Record iPhone With Sound
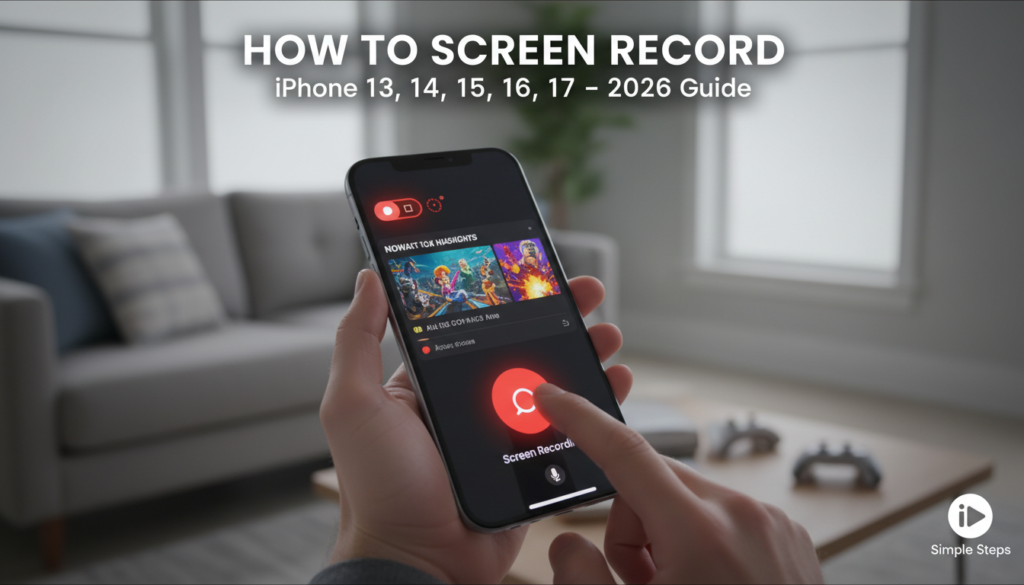
Sometimes just seeing the screen isn’t enough; you need to explain what is happening. If you want to screen record iphone with sound, the trick is a long-press. Instead of just tapping the record button, press and hold it for a second. A menu will pop up showing a microphone icon. Tap that icon so it turns red. Now, when you start the recording, your iPhone will capture both the internal system sounds and your own voice!
Pro Tips for Clear Recordings
When you screen record iphone 17 or any other high-end model, you want the video to look clean. First, turn on “Do Not Disturb” mode so that annoying text messages don’t pop up in the middle of your video. Also, make sure your storage has enough space. A long video can take up quite a bit of memory. Finally, keep your hands steady so the recording looks professional and smooth for your viewers.
Finding Your Recorded Files
Once you finish your video, you might wonder where it went. Don’t worry, it doesn’t disappear! All your recordings are saved directly to your Photos app. Just open the app, go to your library, and look for the “Media Types” section. Tap on “Screen Recordings” to find everything you have captured. It is that easy to manage your library and share your clips with your friends or post them online.
Troubleshooting Common Issues
Sometimes, you might find that the screen record iphone feature isn’t working as expected. If you cannot find the button, double-check your Control Center settings to ensure it was added correctly. If a specific app refuses to record, it is likely because that app has privacy restrictions to protect content. This is common with some streaming services. If you ever have trouble, a quick restart of your iPhone usually fixes most minor glitches.
Recording on Older Models
Are you using an older device? Don’t worry, the process is very similar. Even for models like the screen record iphone 11, the steps remain the same. You still use the Control Center to start and stop your capture. Apple has kept this interface consistent across many years of updates, which makes it very easy to switch phones without having to relearn how your favorite features work.
Sharing Your Creations
Now that you know how to screen record iphone 16 moments, you can share them anywhere. You can edit your videos right inside the Photos app to trim the start or end. This helps you remove the parts where you were fumbling to open the Control Center. Once it looks perfect, tap the share icon to send it via message, email, or your favorite social media platform.
Why Use Native Screen Recording?
Using the built-in tool is safer than using third-party apps. Many “recorder” apps on the App Store are filled with ads or privacy risks. By using the official Apple tool, you ensure your data stays private and your device runs smoothly. It is optimized to use less battery and processing power, making it the most efficient way to capture your screen on any modern iPhone.
Summary Table: Quick Reference
| Feature | Action Needed |
| Add Control | Settings > Control Center > Tap ‘+’ |
| Start Recording | Swipe down > Tap the circle icon |
| Enable Audio | Long-press circle > Tap Mic On |
| Stop Recording | Tap the red status bar/button |
| View Files | Photos App > Media Types > Screen Recordings |
Frequently Asked Questions
1. Where is the screen recording button?
It is in your Control Center. If you don’t see it, go to Settings > Control Center and add it manually.
2. Can I screen record without sound?
Yes. If you don’t long-press the button, the microphone stays off by default, capturing only visual data.
3. Why is my recording silent?
You likely forgot to enable the microphone. Remember to long-press the record button and turn the mic to “On” before starting.
4. Can I record my screen while on a call?
Yes, but be careful with privacy. Always inform the other person if you are recording the conversation.
5. How do I trim my recording?
Open the video in the Photos app, tap “Edit,” and use the sliders at the bottom to cut the beginning or end.
6. Does it work on all models?
Yes, it works on any iPhone that supports recent iOS versions, including the iPhone 11 up to the latest iPhone 17.
Conclusion
Now you are a master of the iPhone screen recorder! Whether you are making tutorials or saving memories, you have the skills to do it perfectly every time. Remember to keep your screen clean and your audio clear. Have you tried recording a video with voiceover yet? Give it a go and let me know how it turns out in the comments below! If you have any more questions, feel free to ask. Happy recording!