
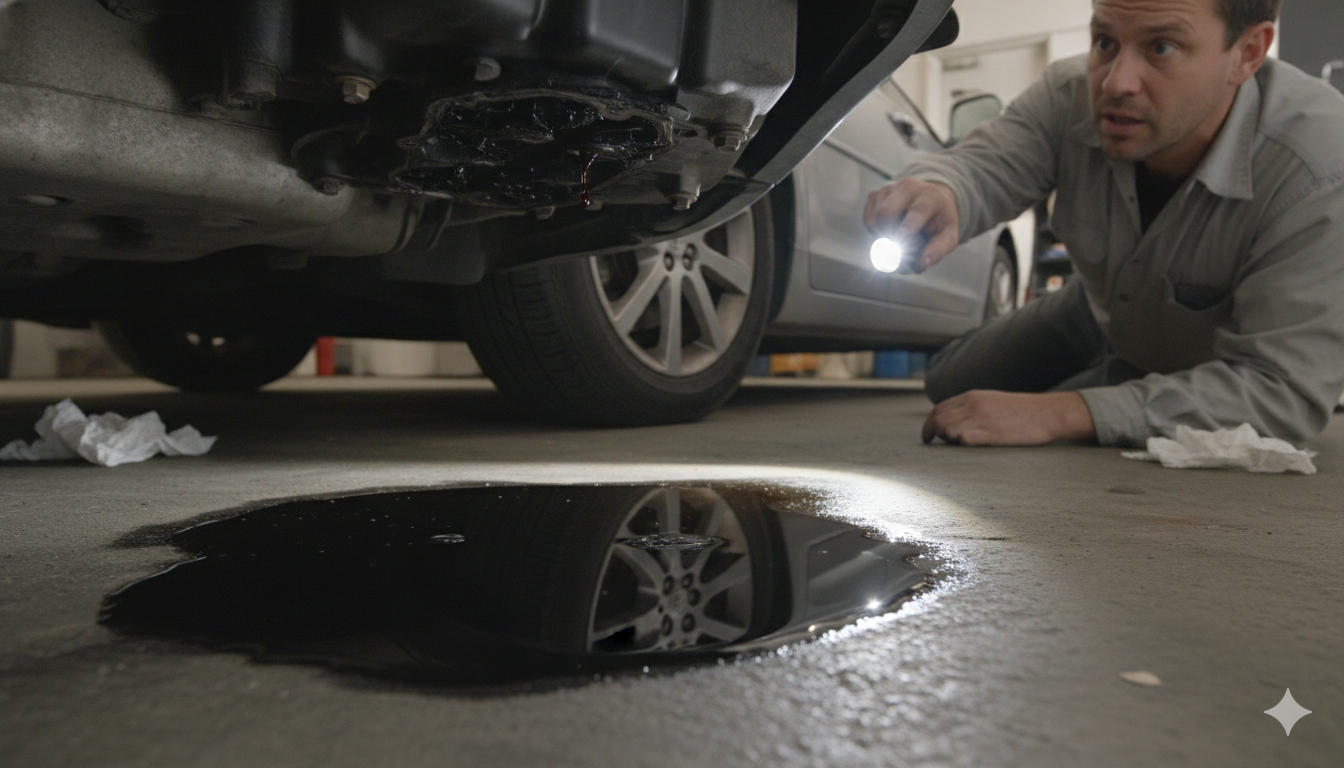
Discovering an unexpected oil puddle under your vehicle can be incredibly stressful, but knowing the exact Valve Cover Gasket replacement cost will immediately give you total peace of mind and control over your repair options. This simple rubber or silicone seal acts as a protective shield to keep vital engine oil inside the top section of your motor. Over thousands of miles, intense heat causes the material to become brittle, lose its flexibility, and slowly leak oil onto hot engine parts. Taking care of this issue early prevents major damage and keeps your repair bills remarkably low, safe, and manageable.
What Is a Valve Cover Gasket and Why Is It So Important?
The valve cover gasket is a vital, flexible seal that sits securely between the metal valve cover and the main cylinder head of your engine. Its primary job is to create a tight barrier that keeps slippery motor oil completely inside the engine while blocking external dirt, dust, and moisture from entering. Because your engine gets extremely hot during normal daily driving, this component must be incredibly tough to withstand constant thermal expansion without cracking or shrinking. Without this crucial rubber or silicone line, precious oil would spray out across hot exhaust parts and cause serious mechanical trouble.
Every single internal combustion engine relies heavily on this humble component to maintain proper internal pressure and keep the upper valvetrain perfectly lubricated at all times. When the seal remains healthy and strong, your vehicle experiences optimal oil circulation and protects the camshafts from friction wear. However, standard wear and tear over time will eventually cause the material to degrade, harden, and break apart under the hood. Knowing how this seal works allows you to spot early warning signs before a minor drip turns into an expensive, messy problem.
Real Warning Signs of a Faulty Valve Cover Gasket
One of the most obvious warning signs of a leaking seal is a dark pool of fresh oil forming directly underneath your parked car overnight. You might also notice a very strong, unpleasant burning smell coming from under the hood while waiting at a red light on your daily commute. This happens because escaping fluid constantly drips onto the superheated exhaust manifold, creating a small amount of white smoke that enters your cabin through the air vents. Checking the sides of your engine block for wet, greasy grime is a fantastic way to confirm this issue.
Another hidden symptom involves engine misfires, which can cause your vehicle to shake, sputter, or lose acceleration power while driving down the highway. This frustrating issue occurs when leaking fluid fills up the narrow spark plug wells, completely soaking the ignition coils and short-circuiting the electrical system. If you see your dashboard check engine light pop on unexpectedly, a worn seal could easily be the underlying root cause. Monitoring your dipstick regularly for rapid fluid loss will help you catch these issues before they cause permanent damage.
When Should You Replace Your Valve Cover Gasket Immediately?
You should arrange to install a fresh seal the moment you notice active wet spots or smell burning fluid during your regular driving routines. Ignoring a small leak allows the fluid to slowly degrade your rubber cooling hoses, drive belts, and sensitive electrical wiring harnesses over time. If fluid manages to completely fill your spark plug tubes, your car will begin to idle very poorly and consume much more gasoline than usual. Acting quickly saves you from spending extra money on multiple replacement parts that were ruined by a simple fluid leak.
Most manufacturers state that a high-quality factory seal will typically last between 50,000 miles and 100,000 miles under normal driving conditions. However, frequent short trips in freezing weather or skipping regular oil changes can cause the rubber material to fail much earlier than expected. If you are already planning to replace old spark plugs or worn ignition coils, it is highly intelligent to swap the gasket at the exact same time. This smart strategy ensures your engine bay stays perfectly dry and saves you from paying for the exact same labor twice.
Complete Breakdown of Valve Cover Gasket Replacement Cost
The overall valve cover gasket replacement cost is shaped by whether you choose to visit an expert repair shop or complete the job yourself at home. For a professional service, the total financial investment usually spans from $150 to $450 for standard passenger cars and commuter SUVs. If you own a luxury imported vehicle or a large truck with a complex engine bay, the bill can climb up to $600. Fortunately, the raw materials are remarkably inexpensive, allowing DIY builders to save a tremendous amount of money on overall labor.
To help you visualize your options clearly, look over this detailed financial overview comparing professional garage services against a home garage repair approach:
| Expense Category | DIY Home Repair Approach | Professional Auto Shop Service |
| New Replacement Part | $20 – $90 | Included in Total Package |
| Expert Mechanic Labor | $0 | $120 – $320 |
| Shop Supplies & Cleaners | $15 – $25 | Included in Total Package |
| Required Shop Tools | $10 – $35 (If Needed) | $0 |
| Total Estimated Price | $35 – $150 | $150 – $450 |
Major Factors That Change the Total Bill at the Shop
Your vehicle make and model is the biggest factor that determines the final number on your professional mechanic invoice. Simple four-cylinder engines have just one straight cover sitting right on top of the motor, making them incredibly easy for a technician to access. On the other hand, V6 and V8 engines feature two separate cylinder banks, requiring two individual seals and double the total amount of disassembly work. Some modern sports cars require mechanics to remove heavy intake manifolds and fluid lines just to reach the destination.
Your physical geographic location also plays a massive role in the local labor rates you will pay at checkout. Auto repair shops located in busy metropolitan areas or premium dealership service centers often charge between $150 and $220 per hour for labor. Independent garages in smaller suburban towns usually offer much friendlier rates, frequently ranging from $80 to $130 per hour for identical repair work. Additionally, choosing a premium silicone replacement brand over a cheap generic option will add a tiny bit more to your final parts total.
Can I Safely Drive My Car With a Leaking Engine Seal?
Technically, you can continue to drive a car with a mild leak for a few days, but doing so carries some very risky downsides. The primary danger is that your motor will steadily lose its essential lubrication fluid, leading to oil starvation and catastrophic engine failure. If the fluid level drops too low, internal metal components will grind against each other, creating extreme heat that can completely ruin your motor. Checking your dipstick every single morning is mandatory if you must delay this essential automotive repair.
A much bigger safety concern is the genuine risk of an unexpected engine fire breaking out under your hood while driving. When motor oil constantly drips onto a hot exhaust pipe, it can easily reach its ignition temperature and spark a dangerous flame. Furthermore, the smoke generated by the baking fluid creates harmful cabin fumes that can make you feel dizzy or sick while steering. Fixing the issue immediately guarantees that your daily travels remain completely safe, clean, and reliable for you and your family.
Essential Tools Needed for a Successful DIY Replacement
Completing this project in your own driveway is a fantastic way to build mechanical confidence while keeping your hard-earned money in your wallet. Before you begin turning bolts, you need to gather a few basic hand tools to ensure the job goes smoothly. A standard metric socket set with a smooth ratcheting wrench is absolutely necessary for removing the outer retaining fasteners. You will also want a reliable, accurate inch-pound torque wrench to tighten the components back down to exact factory specifications.
In addition to your hardware, picking up a bottle of heavy-duty brake cleaner and a plastic scraper tool is incredibly smart. These supplies allow you to completely remove baked-on debris and old grease from the aluminum engine block without scratching the delicate metal surfaces. A clean tube of high-quality RTV silicone sealant is also helpful for filling in small corner joints where leaks love to form. Having these items organized on your workbench ahead of time makes the entire process feel fun, organized, and stress-free.
Step-by-Step Guide to Replacing the Gasket at Home
To begin the project, park your vehicle on a flat surface, turn off the ignition, and let the engine cool down completely for at least two hours. Open the hood and carefully disconnect the negative battery terminal to ensure total electrical safety while working around components. Next, label and remove any plastic engine covers, vacuum hoses, or spark plug wires that are blocking your path to the cover. Take your time during this step, and consider snapping a quick smartphone photo to help you remember exactly where everything belongs.
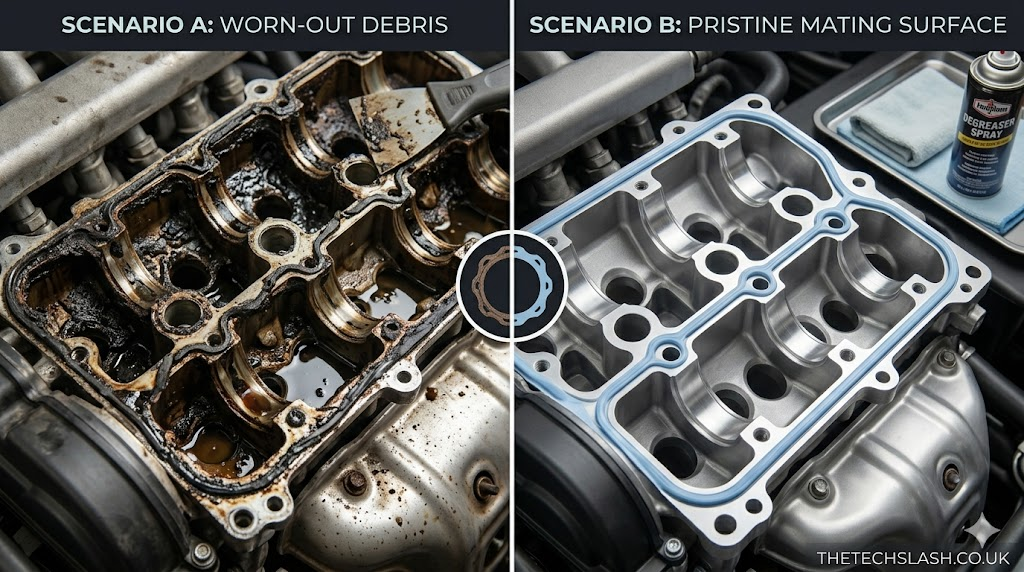
Carefully back out all the retaining bolts using a cross-pattern sequence to prevent the thin metal or plastic cover from warping or cracking. Lift the cover straight up, pull out the old flattened rubber component, and discard it directly into the trash bin. Use your plastic scraper and degreaser to clean the mating channel until the bare aluminum shines like brand new. Carefully press your fresh rubber piece into the clean channel, apply a tiny dot of silicone sealant to the sharp corners, and reinstall the cover. Tighten the fasteners gently in a star pattern to distribute pressure perfectly across the new seal.
Crucial Cleaning Mistakes That Can Cause Immediate Leaks
The most common mistake amateur mechanics make during this repair is failing to clean the metal mating surfaces properly before installing the new part. If even a tiny speck of old, hardened rubber or dirt remains on the engine block, the new seal cannot sit perfectly flush. This tiny gap creates an immediate path for pressurized motor oil to escape the moment you start up the vehicle. Investing extra time into scrubbing the metal channel perfectly clean is the ultimate secret to a long-lasting repair.
Another major hazard involves using sharp steel razor blades or aggressive wire brushes to scrape away stubborn debris from aluminum cylinder heads. Aluminum is a relatively soft metal that scratches very easily, and a deep scratch creates a permanent channel that silicone cannot easily seal. Always stick to plastic scrapers or soft wooden dowels to protect the integrity of your engine parts. Finally, avoid using oily rags to wipe down the area, as any left-behind residue will prevent your new silicone sealant from bonding correctly.
The Vital Importance of Using a Proper Torque Wrench
Many passionate DIY builders assume they can simply tighten down the cover fasteners by hand using a standard wrench until they feel tight. However, valve covers require surprisingly low torque settings that are usually measured in very light inch-pounds rather than heavy foot-pounds. Over-tightening the small bolts can instantly crush or split the new rubber material, ruining the component before you even back out of the driveway. It can also strip out the soft aluminum threads inside your cylinder head, leading to an incredibly difficult repair.
Conversely, leaving the fasteners too loose will prevent the rubber from compressing enough to form a true, airtight barrier against oil pressure. Using a calibrated torque wrench guarantees that every single bolt applies the exact same amount of downward force across the entire perimeter. Always look up your vehicle’s specific torque specifications online or inside a factory repair manual before starting the final assembly step. Following these precise numbers keeps your components perfectly safe and ensures your new leak-free seal lasts for decades.
How High-Quality Materials Save You Money Long-Term
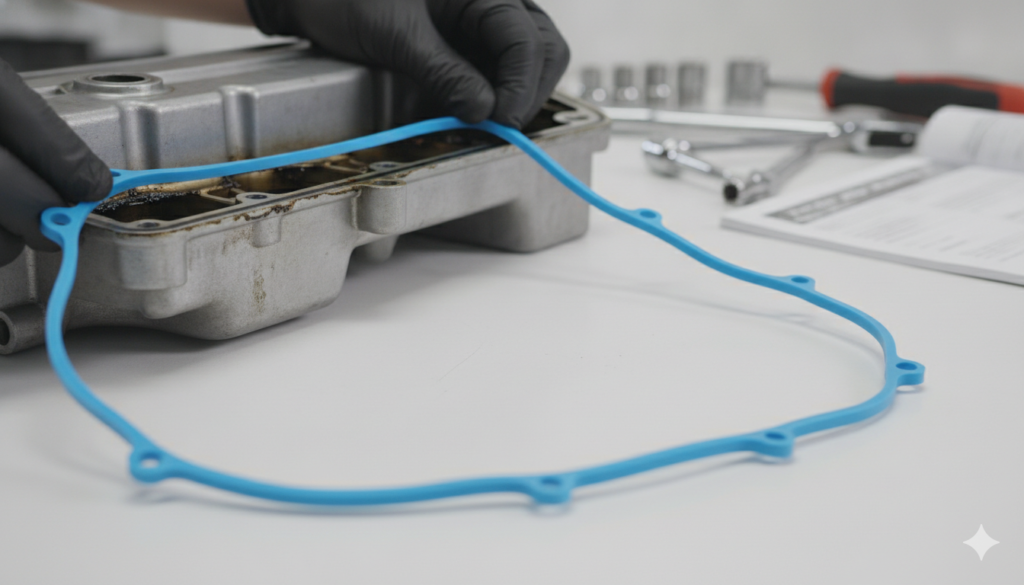
When shopping for your new auto parts, you will quickly notice a wide price gap between cheap generic brands and premium name-brand options. Budget components are often made from low-grade rubber that quickly hardens, shrinks, and cracks when exposed to normal engine temperatures. Investing a few extra dollars into a premium fluoropolymer or silicone material gives you a component that remains incredibly soft and pliable for years. This smarter purchase keeps you from having to do the exact same messy job again next summer.
Choosing a complete kit that includes brand new spark plug tube seals and fresh rubber bolt washers is also highly recommended. These small extra parts ensure that oil cannot seep downward into your ignition system or creep upward past the bolt heads. Spending a tiny bit more upfront gives you absolute confidence that your entire upper engine section is fully protected. High-quality parts deliver incredible value by keeping your vehicle out of the shop and running smoothly down the open road.
Conclusion:
Addressing your vehicle’s maintenance needs early is the single best way to maximize your driving enjoyment while keeping your ownership costs incredibly low. The valve cover gasket replacement cost is a very small, manageable investment that completely protects your vehicle from severe mechanical damage, messy driveways, and dangerous under-hood fires. Whether you choose to support a trusted local mechanic or grab your own tools for a fun weekend project, fixing this leak restores your vehicle’s peak efficiency. Check your oil today, choose the right path for your budget, and enjoy a dry, reliable engine!
(FAQs)
1. How long does it take an expert mechanic to finish this replacement?
For most standard four-cylinder passenger vehicles, an experienced technician can finish the entire job in about one to two hours. If you own a vehicle with a large V6 or V8 engine, the job usually takes between three and five hours due to the extra parts that must be carefully removed.
2. Will a bad engine seal cause my oil pressure light to turn on?
Yes, if the leak is severe enough to let a large volume of fluid escape, your total oil level will drop below safe operating limits. This reduction triggers the oil pressure warning light on your dashboard, signaling that your engine is at immediate risk of severe damage.
3. Should I always use liquid silicone sealant along with the new rubber?
You should only apply a tiny dab of liquid RTV silicone sealant on the specific spots recommended by the manufacturer, such as sharp corner joints or seams. Applying thick liquid sealant along the entire flat rubber surface can cause the part to slip out of its designated channel during tightening.
4. Why does my car smell like burning oil after installing the new part?
It is completely normal to notice a faint burning smell for the first twenty or thirty miles of driving after completing the repair. This happens because old, residual oil that leaked onto the exhaust system before the repair is simply burning off as the metal gets hot.
5. Can a bad valve cover seal cause my car to fail an emissions test?
Yes, a heavy leak can allow oil to seep into the combustion chamber or throw off internal vacuum pressures, triggering a check engine light. Any active dashboard warning light or misfire code will result in an automatic failure at your local state emissions testing station.